Flashing Firmware
This page is based of the Installation guide from deauther.com. Check it out for more information and additional installation methods.
- Download the .bin file for HackHeld Vega
- Open esp.huhn.me in Chrome, or another supported browser
- Connect your ESP8266 board via USB
- Click Connect and select the serial port of your ESP
- Select your Deauther .bin file
- Click Program
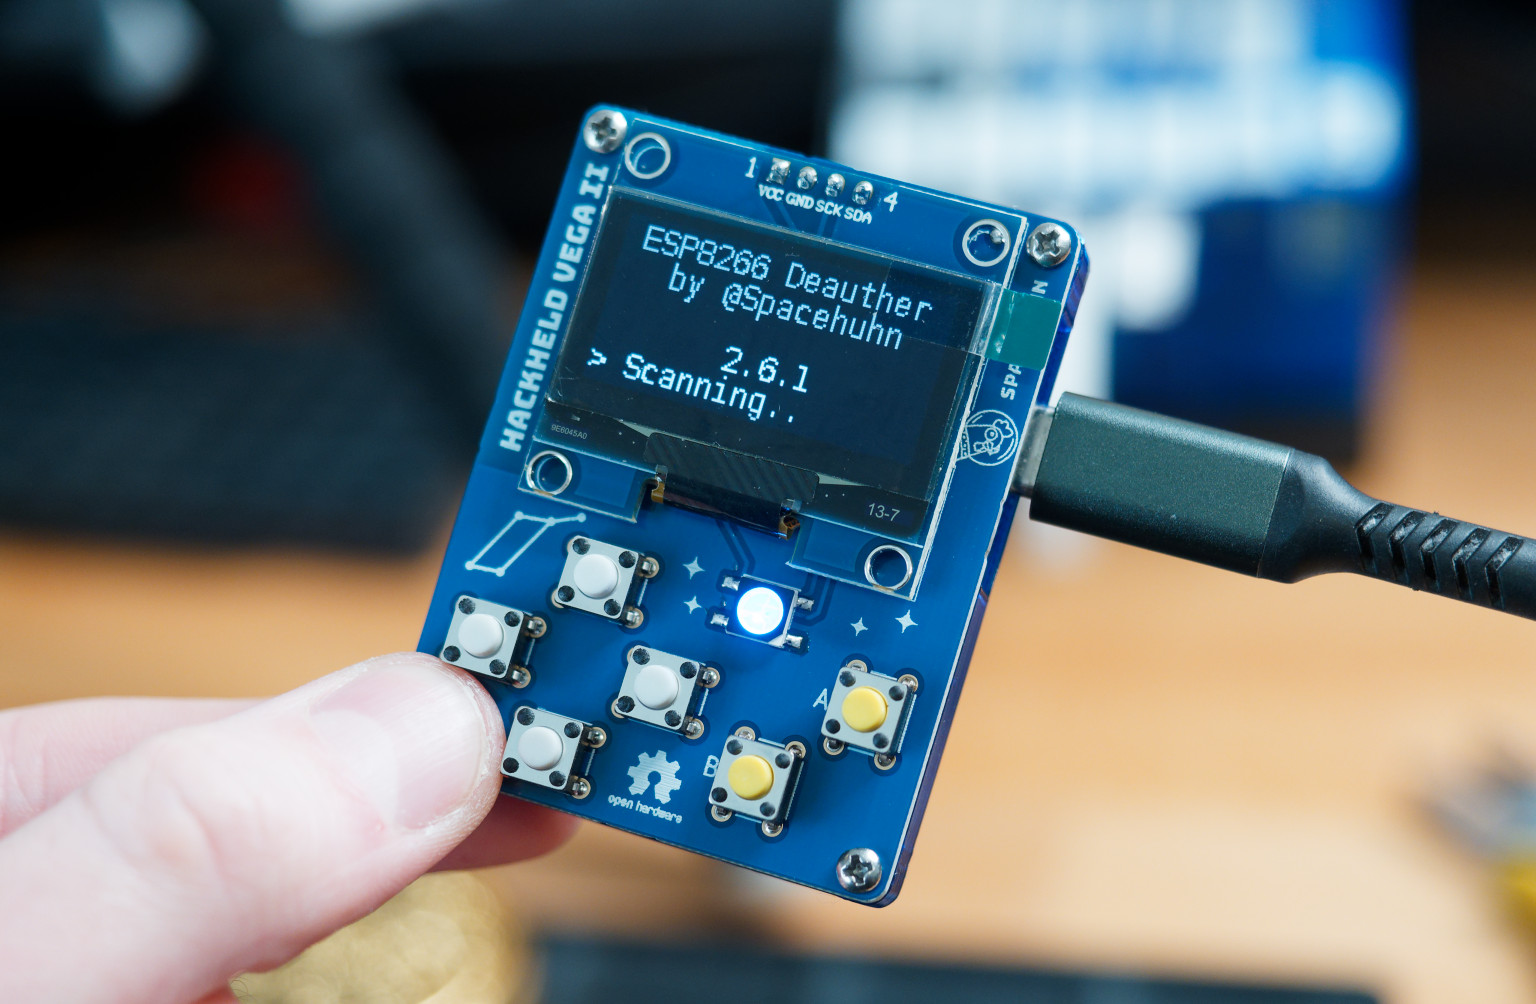
After the upload is complete, the ESP8266 will automatically reboot and start the Deauther. If not, you can manually reboot it by unplugging and plugging it back in.
Finding the correct port
If you don't know which serial port to select, click connect on esp.huhn.me and then plug in your board. Whatever port pops up in the list is what you're looking for.
You should check the cable and USB port if no new port pops up. Some USB cables are only for charging and cannot transmit data.
Or maybe you're missing the drivers for your device:
🔗 CH340/CH341 Drivers: http://www.wch-ic.com/downloads/CH341SER_ZIP.html
🔗 CP210x Drivers: https://www.silabs.com/developers/usb-to-uart-bridge-vcp-drivers
🔗 FTDI Drivers: https://ftdichip.com/drivers/
Connection failed?
Make sure to set the baud rate to 115200 in the settings. Higher baud rates allow faster upload speeds but can also introduce connection issues.
If that doesn't help, check out this blog post about common ESP8266 and ESP32 errors: https://blog.spacehuhn.com/espcomm/
And if you run into other issues, try using a different flashing tool/method.
Alternative Tools
My ESP web tool is not the only software you can use to flash your ESP8266:
And if you're looking for something Deauther-specific, check out n2d: https://github.com/realmrvodka/n2d/